User Manual
Prerequisites
Before using this manual, please ensure that you have installed and set up the directory as described on the Installation page.
Creating the Source Directory
In the same folder as main.py, create a folder named source and place
all the videos you want to process in it. Supported video formats are .mp4, .mov, .avi, and .mkv. Make sure your videos are in one of
these formats before proceeding to the next section.
Starting the CLI
To start the program, run the following command in your terminal or command prompt:
python3 main.pyThis will launch the CLI tool and prompt you to choose a video for processing. The interface should look something like this:
			____       _ _ _
		   / ___| __ _| (_) | ___  __ _ _ __
		  | |  _ / _` | | | |/ _ \/ _` | '_ \
		  | |_| | (_| | | | |  __/ (_| | | | |
		   \____|\__,_|_|_|_|\___|\__,_|_| |_|

				Available Videos
	┏━━━━━━━┳━━━━━━━━━━━━━━━━━━━━━┳━━━━━━━━━━━━┓
	┃ Index ┃ Filename            ┃ Resolution ┃
	┡━━━━━━━╇━━━━━━━━━━━━━━━━━━━━━╇━━━━━━━━━━━━┩
	│ 1     │ example_jupiter.MOV │ 640x360    │
	│ 2     │ example_saturn.MOV  │ 640x360    │
	│ 3     │ example_moon.MOV    │ 640x480    │
	└───────┴─────────────────────┴────────────┘
	Enter video numbers to process (comma-separated) (1):
In this example, there are three files in the source folder, each with its
resolution shown in the metadata. To proceed, type the number (index) of the video you want to
use, as shown above. You can also select multiple videos by typing their numbers separated by
commas, like 1,2,3, if they contain the same objects recorded in different videos.
In this tutorial, we'll use "Jupiter" as an example.
Note: Galilean CLI does not process each video separately. This means you cannot select videos of different objects in the same run and expect all results. Instead, you will receive a single stacked image of all the objects!
Selecting Crop Size
Next, you will be asked to select the cropping resolution. Since our original video has a low
resolution, the output can only be cropped to smaller sizes. For larger original files, there
are more options, such as 360, 480, 720, and 1080.
Enter video numbers to process (comma-separated) (1): 1╭───────────────────────╮ │ Available crop sizes: │ ╰───────────────────────╯ 1. 360p Select crop size [1]:
This cropping process is similar to that used in software like PIPP. Cropping ensures that the alignment algorithms can accurately detect image features, resulting in proper alignment and sharper stacking outcomes.
Choosing Number of Images
Galilean will evaluate each video frame to assess its quality based on contrast, sharpness, and signal-to-noise ratio. This helps select the template image to which the algorithm will align the others. It's common to have a few good images and many blurry ones, so we provide options to choose which images to keep. Below, you can select the percentage of images you want to retain.
	Select crop size [1]: 1
	╭──────────────────────────╮
	│ Image quality threshold: │
	╰──────────────────────────╯
	1. 80%
	2. 85%
	3. 90%
	4. 95%
	5. 99%
	6. 100%
	Select quality threshold [1/2/3/4/5/6]:
Since the original footage has already filtered out frames with unstable camera movement, we will use 95% as an example.
Choosing Stacking Method
Stacking is a key technique used in software like AutoStakkert! and other astro image processing tools. It helps improve the signal-to-noise ratio, and in the case of lucky imaging, it reduces turbulence and enhances clarity.
	Select quality threshold [1/2/3/4/5/6]: 4
	╭───────────────────╮
	│ Stacking methods: │
	╰───────────────────╯
	1. Mean
	2. Median
	3. Mean With Clipping
	4. Mean With Median Clipping
	Select stacking method [1/2/3/4]:
Mean stacking usually provides the best signal-to-noise ratio, while median stacking is useful when there are unwanted objects in the scene (like satellites, though that's not typically an issue here). Mean with clipping removes pixels that deviate too much from the mean, capping them at a set value. Median clipping, on the other hand, clips values to the median of the pixels. For simplicity, we'll use "Mean" for this demonstration.
Adjust Sharpening Factor
At this stage, you're in the postprocessing phase, similar to what you would do in RegiStax. Galilean will prompt you to choose a sharpening factor to enhance the images further. It's worth experimenting with different options to see how they affect your final output, but "Moderate" is a good starting point.
	Select stacking method [1/2/3/4]: 1
	╭────────────────────╮
	│ Sharpening levels: │
	╰────────────────────╯
	1. Low
	2. Moderate (Recommended)
	3. High
	Select sharpening level [1/2/3]:
The sharpening effect, done with Laplacian Transforms, is gentle, so it should preserve most of the raw data. We will use the "Moderate" option in this demonstration.
Note: Our postprocessing steps are not perfect, so we recommend using other image processing software, like Photoshop, to fine-tune the results. The program also applies auto white balance using the Gray World assumption, but tweaking it in your preferred software is still recommended.
Super-resolution
Our software currently cannot replicate the Drizzle algorithm used in most astrophotography tools. Instead, we use an AI-based solution with a deep learning model called ESDR. While it may take longer to process, this allows you to upscale your original image by 2x or 3x.
	Select sharpening level [1/2/3]: 2
	╭───────────────────────────────────────────────────────────────────────────╮
	│ Warning: Super resolution is done using AI and may take longer to process │
	╰───────────────────────────────────────────────────────────────────────────╯
	Select scaling factor [None/2/3] (None):
If you prefer to skip this step, simply input "None." In this example, we'll use 3x scaling to demonstrate the effect. After submitting, you're all set! Please sit back and relax, as processing may take a few minutes depending on the size and duration of the video. If everything is done correctly, you should see an output like this:
	Select scaling factor [None/2/3] (None): 3
	⠋ Saving outputs...

	✓ Processing complete!
			Processing Results
	┏━━━━━━━━━━━━━━━━━━┳━━━━━━━┓
	┃ Metric           ┃ Value ┃
	┡━━━━━━━━━━━━━━━━━━╇━━━━━━━┩
	│ Best Frame Index │ 1737  │
	│ Best Frame Score │ 0.888 │
	│ Average Quality  │ 0.677 │
	│ Output Directory │ out   │
	└──────────────────┴───────┘
While Galilean processes your output, you will see messages guiding you through each step. If
you see "Postprocessing," it's a good sign that the output is almost ready. The final output
will include an analysis of the best frame score and its index. The average quality is
calculated across the video, and your output will be saved in a folder named out.
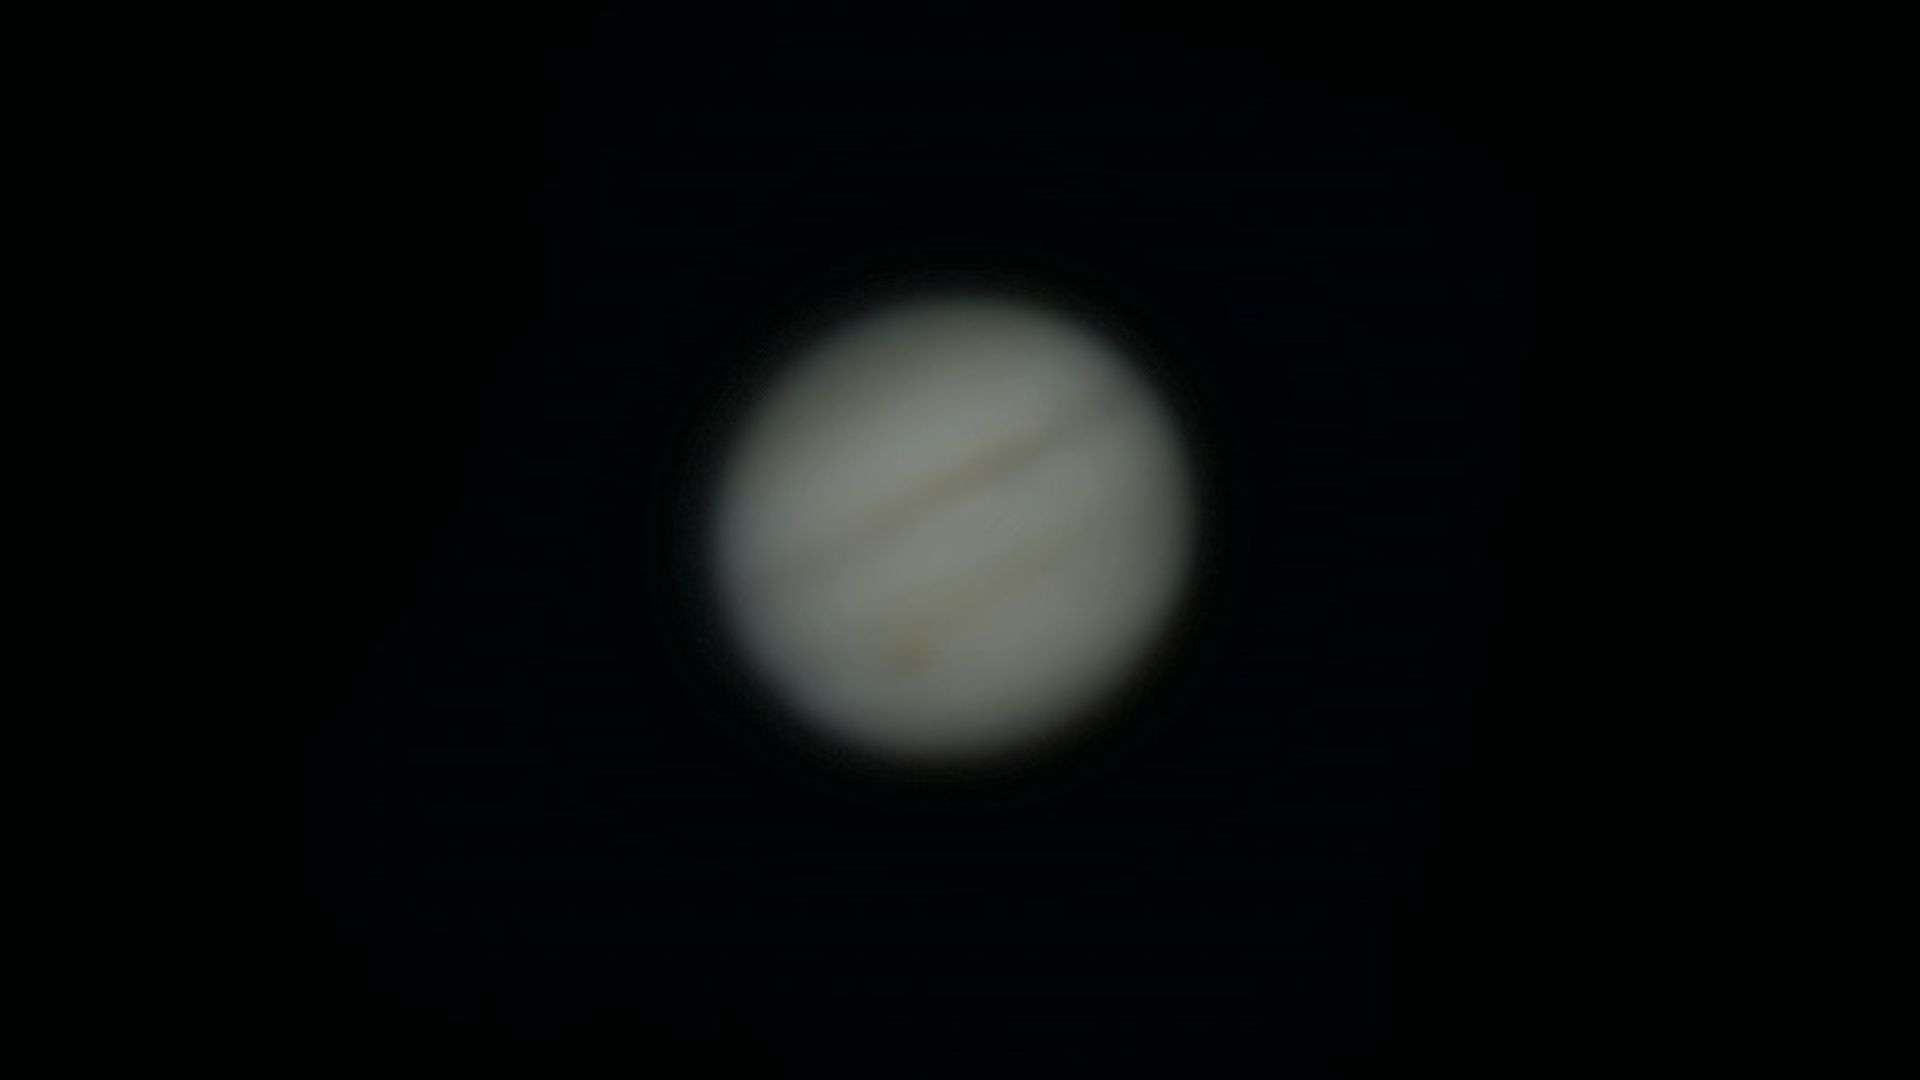
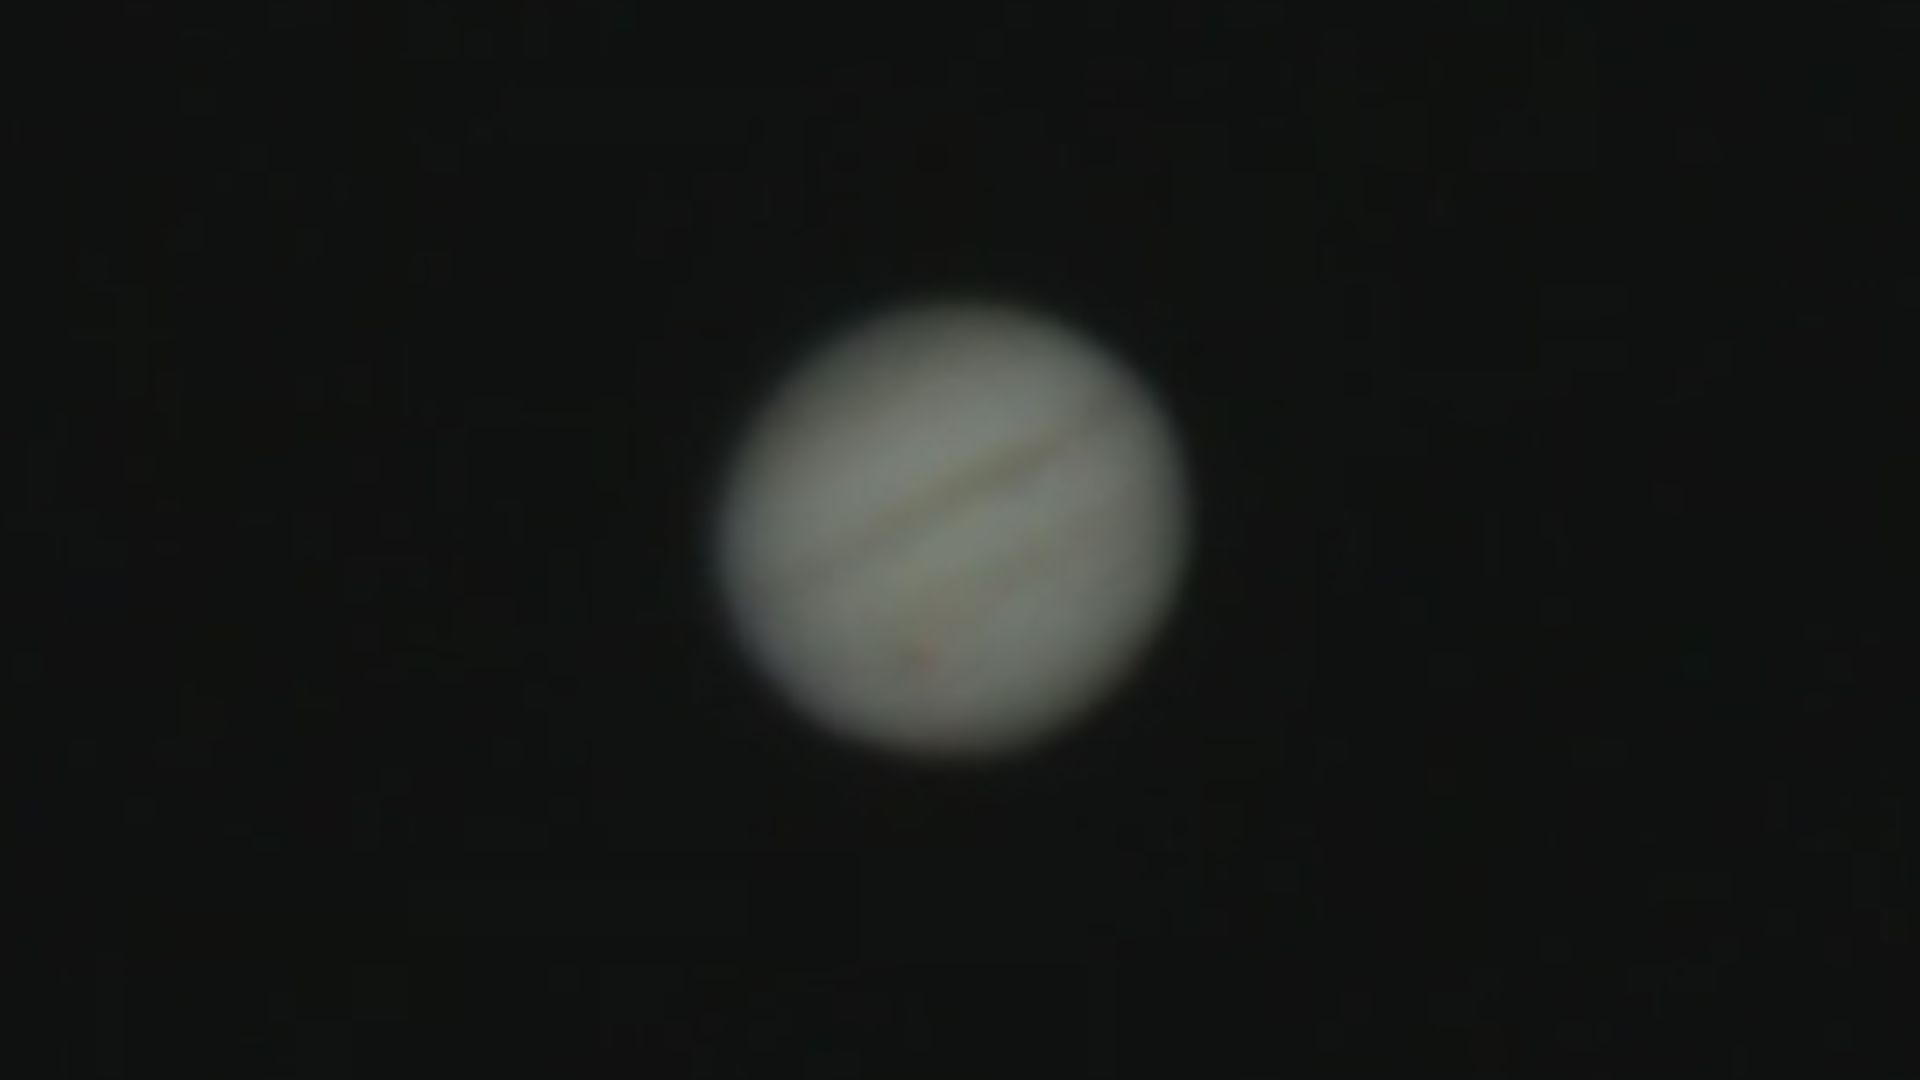
Check this folder to ensure everything is correct. You should find two files: the stacked image
and the postprocessed image.
Contributing
Whether you think Galilean is awesome or needs improvement, we'd love your feedback! This project was started by Phanuphat Srisukhawasu during winter break as a side project, inspired by the lack of support for PIPP, AutoStakkert!, and RegiStax on Mac. If you have suggestions for improvements or want to report bugs, feel free to open pull requests or issues on our GitHub. We are currently exploring better image alignment algorithms and enhanced postprocessing capabilities.
Happy processing!